AR-15 Maintenance and Assembly

AR‑15 Basic Maintenance, Lubrication & Function Check
Regular maintenance keeps an AR‑15 reliable, safe, and ready — small tasks done regularly prevent malfunctions, extend component life, and save you time (and money) down the road. This quick guide walks through the basic cleaning, lubrication, inspection, and function checks you should do after range trips and on a scheduled cadence so your rifle runs when you need it.
Safety first
-
ALWAYS point the rifle in a safe direction.
-
Remove the magazine. Lock the bolt to the rear and visually & physically inspect the chamber to verify the rifle is clear.
-
Work in a well‑ventilated area when using solvents.
Tools & supplies (basic kit)
-
Cleaning rod or bore guide, patches, bronze bore brush (caliber matched)
-
Nylon brush / toothbrush, cotton swabs, rags
-
Chamber brush (optional)
-
Solvent (bore cleaner / CLP), gun oil, and a light grease (e.g., lithium or dedicated bolt carrier grease)
-
Q‑tips, small pick or dental tool for carbon spots
-
Snap caps (for dry‑fire checks)
-
Protective gloves and eye protection
Maintenance intervals (rule of thumb)
-
After range trip: clean bore, wipe/carbon clean BCG, inspect gas key & gas rings, lube contact points.
-
Every 300–500 rounds (or monthly if stored/unused): full strip & clean bolt carrier group (BCG), chamber, and bore.
-
Every 1,000–2,000 rounds: inspect gas tube, buffer/spring, and mags for wear; replace springs as needed.
-
Any malfunction: stop shooting and inspect/clean before continuing.
Field strip (basic)
-
Ensure rifle is unloaded and safe. Remove magazine. Lock bolt back and check chamber.
-
Separate upper and lower by pushing takedown/pivot pins.
-
Remove charging handle and bolt carrier group (BCG) from the upper.
-
Remove buffer and buffer spring from the lower (if deeper cleaning or inspection needed).
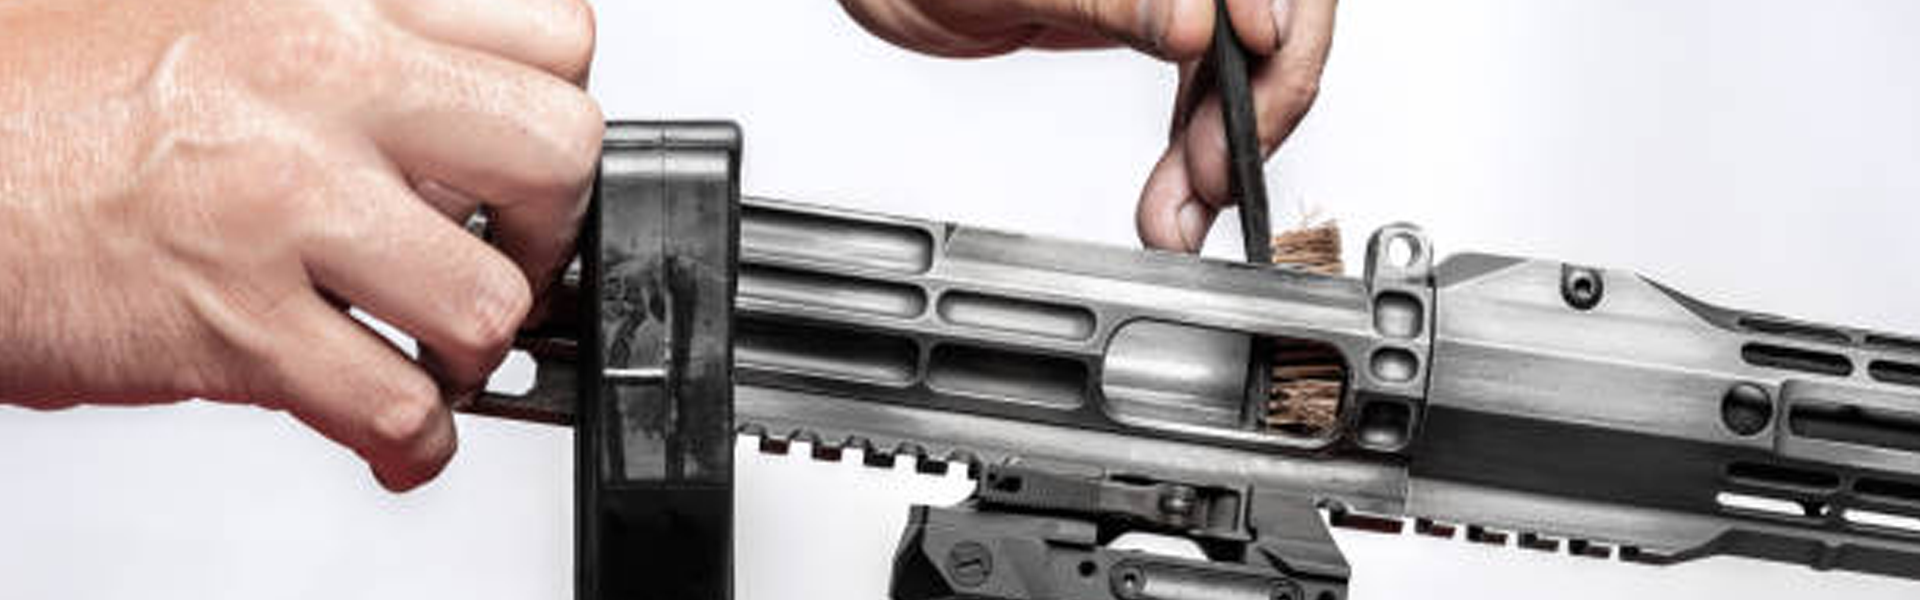
Cleaning steps (efficient & effective)
-
Bore: run solvent‑soaked brush through bore 6–8 times, follow with patches until mostly clean, then run a light oil patch. Use a bore guide if possible.
-
BCG: remove firing pin and cam pin. Scrub carbon from bolt face, extractor, gas rings, and inside carrier. Pay attention to the extractor spring and O‑ring (if present). Lightly clean the firing pin.
-
Chamber / extension: use a chamber brush and patches; remove carbon from feed ramps and chamber shoulder.
-
Gas tube / gas key: visually inspect gas key staking and screws; wipe out the gas key and tube entrance with a patch on a thin rod or q‑tip (don’t force a brush down the gas tube).
-
Lower receiver: wipe out dust/dirt; clean trigger group area with a nylon brush — avoid soaking the trigger assembly in solvent.
Lubrication — where and how much
Goal: light film where metal rubs; grease in high‑pressure contact areas. Avoid pooling oil in receiver.
Light oil (CLP) locations — small amount
-
Rails inside the upper (charging handle rails / carrier contact points) — one light wipe.
-
Cam pin surface where it contacts the carrier.
-
Firing pin lightly (wiping, not drenching).
-
Pivot/takedown pin holes (if they are dry).
Grease or heavier lube — thin smear
-
Bolt carrier cam surface where it contacts the extension.
-
Bolt lugs face (light film) and extractor hinge pin.
-
Rear of the bolt (where it contacts carrier) — small smear of grease helps during sustained fire.
-
Buffer spring lightly if dry.
Avoid
-
Excess oil in the buffer tube (allows dirt to collect).
-
Heavy oil inside magazines — it can cause feeding issues.
A helpful visual rule: if a rag wiped across the part leaves a light sheen, you’re done. If it drips, there’s too much.
Re‑assembly & quick checks
-
Reinstall BCG and charging handle, close upper & lower, push takedown/pivot pins.
-
Function checks (dry):
-
With the rifle unloaded and pointed in a safe direction, cycle the action several times.
-
Test safety: selector on “SAFE” — pull trigger (no movement). Selector to “FIRE” — pull trigger (hammer falls). Reset by holding trigger and releasing/pressing again to ensure proper reset. Use snap caps for repeated dry firing if desired.
-
Bolt catch: lock the bolt to the rear and release with the bolt catch to verify proper function.
-
Live‑fire function check (range test)
-
Start with 3–5 rounds of your chosen service/training ammo through function‑tested magazines. Confirm:
-
Reliable feeding, chambering, extraction, and ejection.
-
No failures to feed/lock/cycle.
-
-
If suppressed or using unusual loads, test suppressed and unsuppressed where applicable.
Troubleshooting quick fixes
-
Light carbon causing stovepipes/ejection failures: Clean BCG, extractor, and chamber; inspect extractor spring.
-
Failure to extract: Dirty chamber, worn extractor, bad brass, or weak extractor spring. Clean and inspect.
-
Failure to feed: Magazine issue, follower, or ammo profile — test different mags and ammo; check feed ramps.
-
Sticky or heavy bolt lockback: Clean gas rings and cam pin area; replace gas rings if worn.
Parts to inspect/replace periodically
-
Extractor spring & insert, gas rings (replace if worn), firing pin (inspect for tip erosion), buffer spring, and magazines (followers). Replace springs every 2–3k rounds as preventative maintenance.
Final tips
-
Keep a simple log: date, rounds fired, ammo type, and work done.
-
Use quality lubricants from reputable makers; CLP is fine for general use, a dedicated grease for the bolt/carrier cam area helps in hot/frequent fire.
-
If you’re unsure about a strange wear pattern or persistent malfunction, stop and consult a qualified gunsmith.


Comments