Drop-In Trigger Installation Guide

DROP-IN TRIGGER INSTALLATION
Installation Instructions
SAFETY FIRST – Always verify the firearm is unloaded and the chamber is clear before any work.
1. Disassemble the Lower (if existing trigger is already installed)
-
Push out the takedown/pivot pins and separate the lower receiver from the upper receiver group.
-
Remove pistol grip (screw is located inside the pistol grip).
-
Remove safety selector (detent & spring will drop out—catch them).
2. Remove Factory Trigger Group (if installed)
-
Support lower on a bench block or in a vise with jaw pads.
-
Use a 1/16″ punch to drift out the hammer pin (left to right).
-
Remove the hammer and hammer spring.
-
Use a 1/16″ punch to drift out the trigger pin (left to right).
-
Remove trigger, disconnector, and trigger spring.
Tip: Keep factory parts in a labeled bag in case you ever need to revert to the factory trigger.
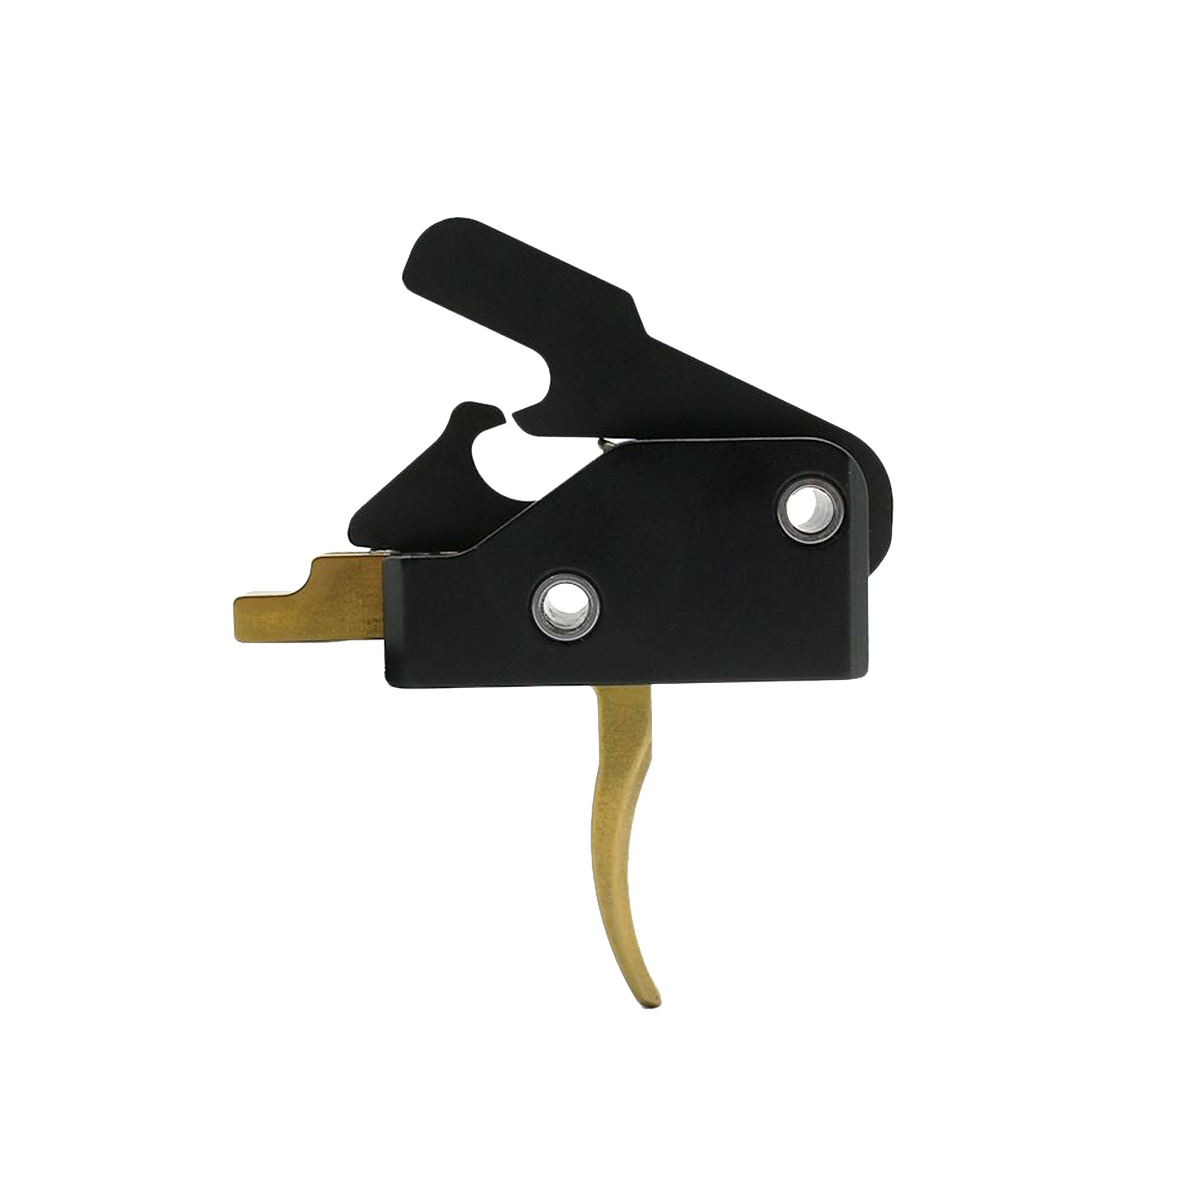
3. Prepare the Drop-In Cassette Trigger
-
Inspect the new trigger cassette for damage.
-
Apply anti-seize to any set screws (per manufacturer).
-
Lightly lube pivot points inside the cassette (do NOT over-lube).
4. Install the Drop-In Trigger
-
Align the cassette in the lower so the pin holes line up perfectly in the lower receiver.
-
Prepare the anti-walk pins for installation by screwing in one of the provided pin screws into one end of the pins.
-
Insert the two supplied anti-walk pins from left to right.
-
With pins inserted in the lower receiver and holding the cassette in place, thread remaining screws into the anti-walk pins on the remaining open side.
-
Hand-tighten pin screws on both sides with the provided Allen key.
-
Torque spec: Usually 10–12 in-lb. Do not overtighten.
-
5. Reinstall Supporting Components
-
Safety selector → Reinstall selector, detent and spring. Components are held in place by the pistol grip.
-
Pistol grip → Place the pistol grip onto the lower receiver grip tang, ensuring the safety selector spring is captured within the hole on the top side of the grip. Reinstall the grip screw (snug, ~10 in-lb).
6. Function Check (LOWER ONLY)
-
Pull trigger → hammer should release with crisp break.
-
Hold trigger back, manually cock hammer, release trigger → hammer should stay cocked (reset test).
-
Switch safety ON → trigger should be blocked and not release the hammer when pulled.
-
Switch safety OFF → repeat pull/release, hammer should drop when trigger is pulled.
-
Check disconnector: Hold trigger back, cock hammer, slowly release trigger → you should feel/hear a reset click.


Comments